What are you going to do with all those packages/boxes after you've went on an online splurge?
Throwing them away will only create more waste which in turn will damage the environment , so we decided to look for ways to recreate something new and useful from these old corrugated boxes!
Join us as we explore 4 fun ways to create nice looking organisers for your study table!
Using toilet paper boxes, outline 2 circles on one side in pencil and cut out the 2 circles. Try to make these circles as big as you can so you're able to fit in bigger items. Next, using your preferred wrapping paper, wrap it around the box neatly so that it creates the box's external layer. Choosing your wrapping paper material is important as this will determine what your organiser will look like. Make sure to make small incisions so as to perfectly wrap the box.
Secondly, cut out the cardboard in the sizes mentioned in the video. Piece the 2 longer cardboards with masking tape and make sure to leave a slight gap so that you're able to fold it afterwards. Wrap your wrapping paper around all these cardboards. After that, using your glue gun/industrial glue, piece 2 of the smaller cardboards at the sides and continue to stick the rest to create compartments.
Lastly glue the edges of the open side and stick them to the first box and there you have it!
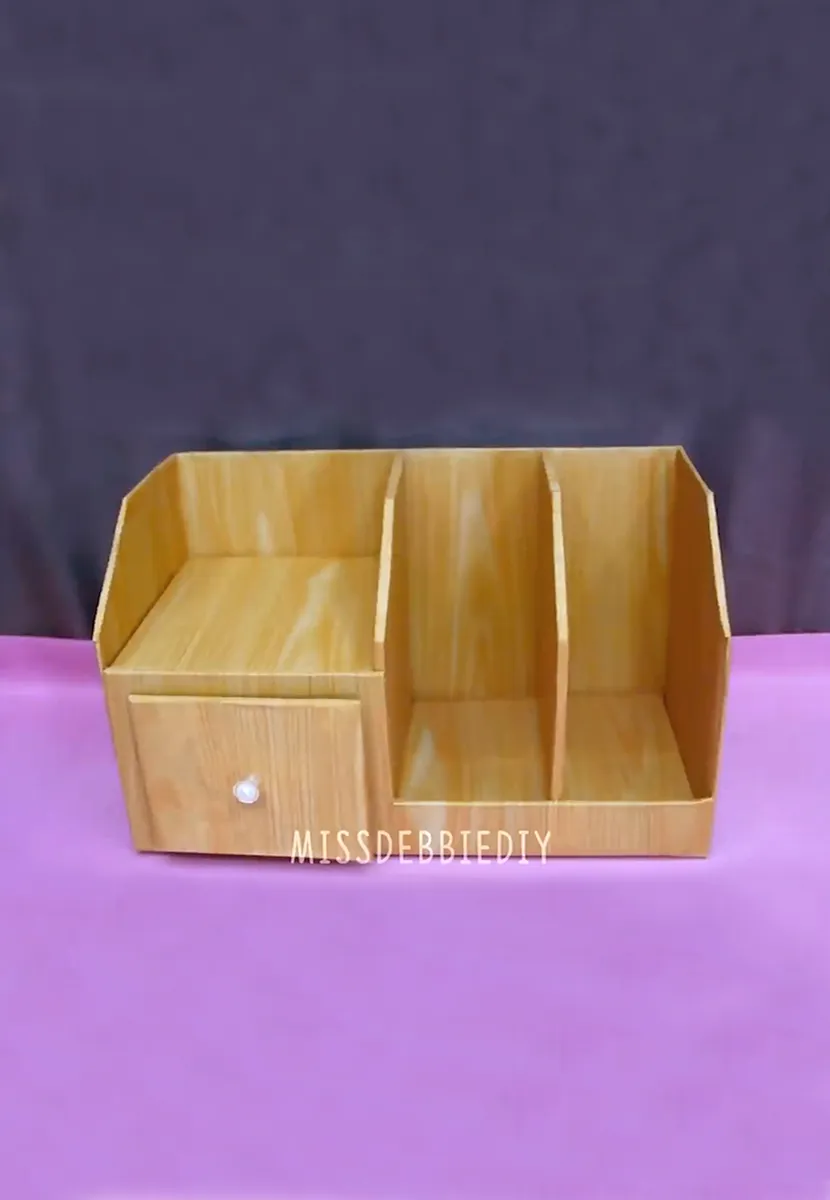
Grab an old carton box and cut out the shape of the organiser and use a masking tape to secure the box. Cut out a small window to insert your drawer. Wrap the box with your desired wrapping paper. After this, to make the base, cut out another piece of cardboard and again, wrap it in wrapping paper. Stick your base in with your glue gun or industrial glue. Cut 2 pieces of cardboard for the compartments and wrap them in wrapping paper. Glue the edges and stick them in.
Next to create the top shelf, cut 2 mini pieces of cardboard and glue them to the sides of the box. This will help secure the top shelf base. Place more glue on top of the 2 pieces and at the side and proceed to add the base of the shelf.
To create the drawer compartment, cut out 5 pieces of cardboard and tape 4 pieces together with masking tape. Wrap all of them in wrapping paper and glue the edges to create the drawer. With a ball, glue it to the bigger piece of cardboard to create the handle. Insert your drawer compartment into the window of the first box and finally you're done!
07:02 - 09:44
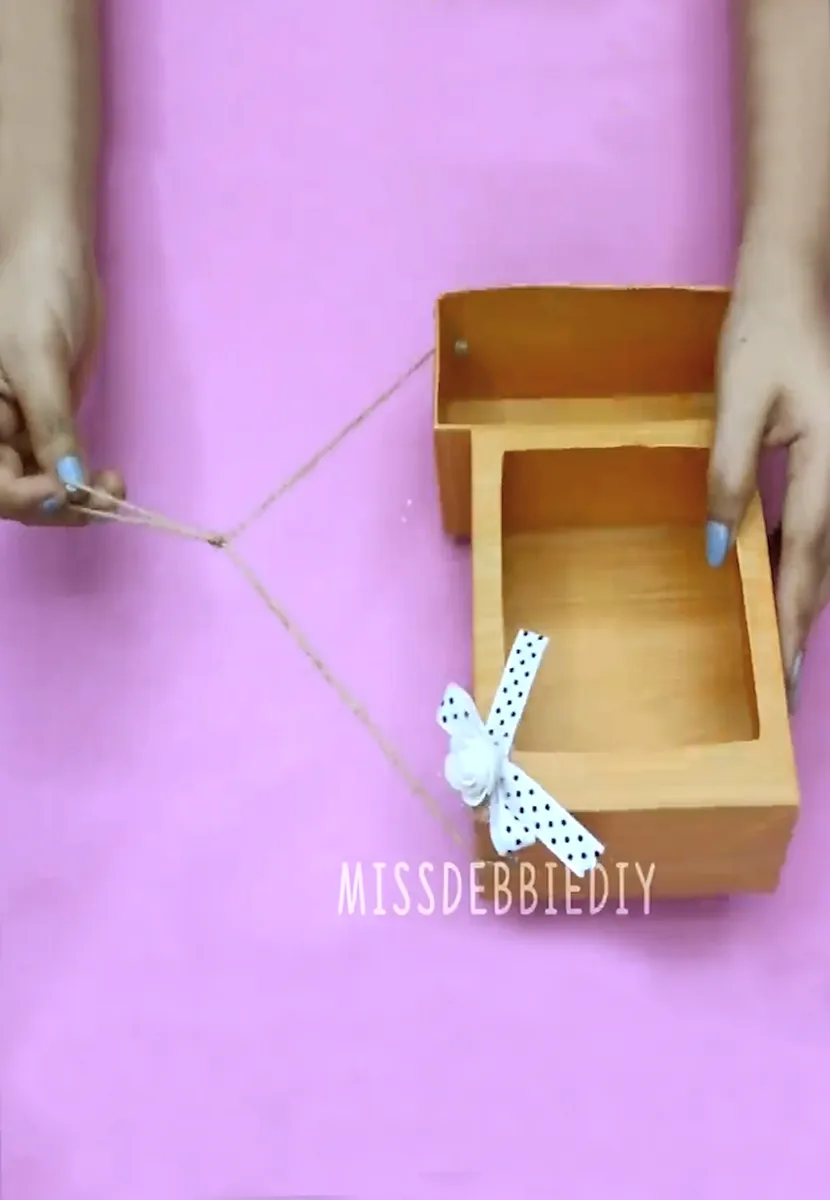
3. Hanging Shelf
Difficulty Level: Easy
Function: Display Shelf
Use: Plants, Small Ornaments
Take 2 boxes of similar sizes and cut one side out. For one of the boxes, leave a border. Secure and glue the sides and wrap both boxes.
Once wrapped, glue the side of one of the boxes with your glue gun or industrial glue and stick them together.
Poke a hole at both extreme ends of the box and insert a small cotton rope through the ends, make sure to create a dead knot at the ends so that it will not slip out of the hole. Lastly, create another knot in the middle of the rope so that it is secure!
09:50 - 11:28
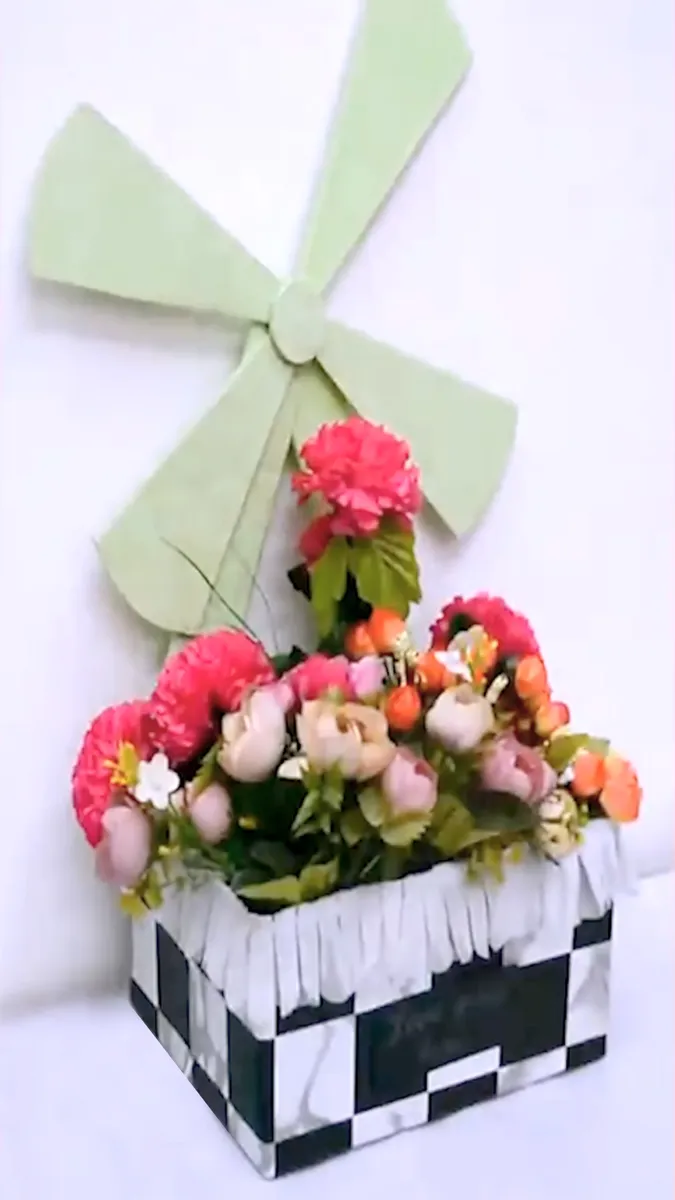
Rectangular Vase Centrepiece
Difficulty Level: Easy
Function: Vase, Centrepiece, Display
Use: Flowers, Plants
With a medium sized box, cut the top and wrap the external part with your wrapping paper. Use another colour of wrapping paper to line the insides.
Cut out 2 long pieces to make part of the windmill and wrap it with wrapping paper. Also cut out the fan of the windmill with 4 pieces of cardboard and wrap it with wrapping paper. With your glue gun or industrial glue, attach the long parts of the windmill to the back of the first box and glue the fans together at the tip. With your glue, line some lace fabric on the edge of the box.
Before you finish, don't forget to add a simple quote on a piece of cardboard and attach it to the front to add a classy touch!
Now that you've seen how easy it is to create with these boxes, it's time to get crackin' ! Better yet, do you want to create your own with a bigger supply of our Eco-friendly Corrugated Boxes?
NPE Print's Eco-friendly Corrugated Boxes with Low MOQ!